Directory: demo -> back-end code based on springboot
Directory: angular -> front-end code based on angular 9
Demo -> https://peinanweng.com
Instructions:
-
- Sign Up
-
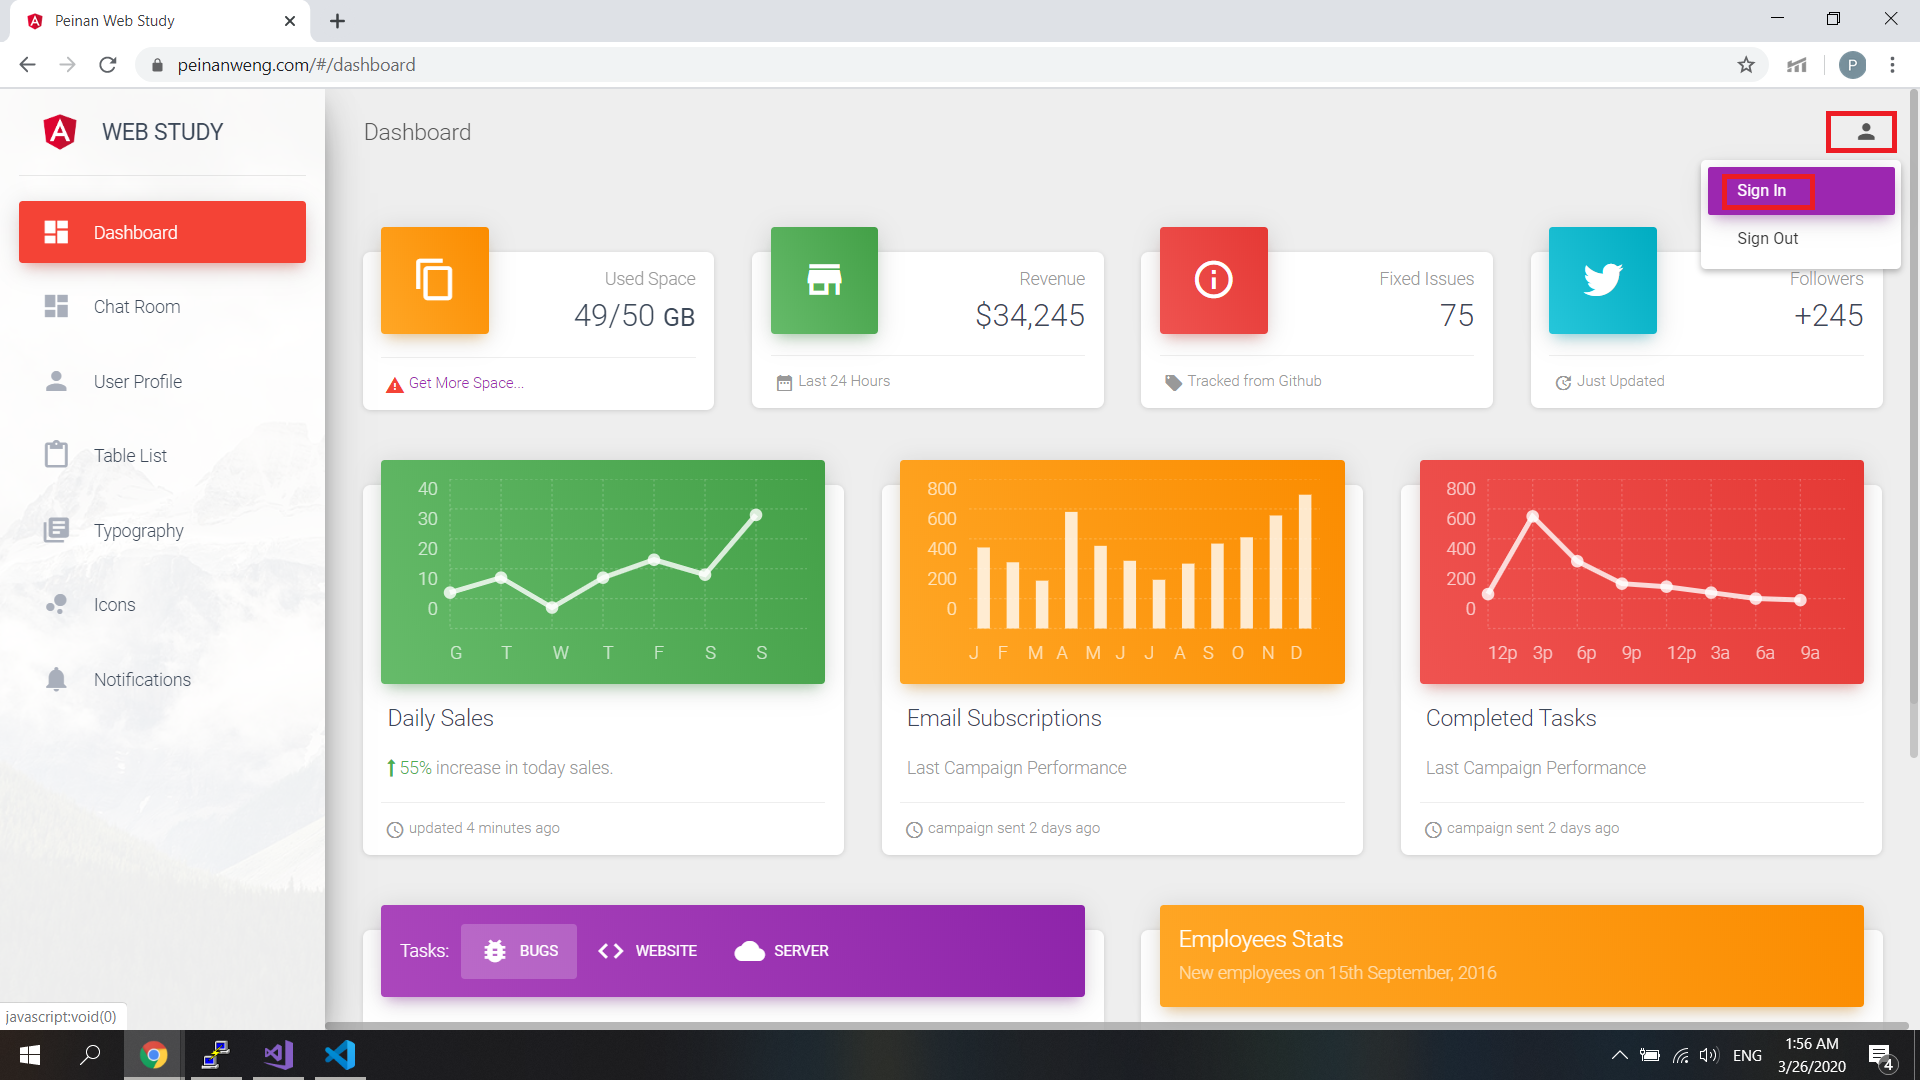
Click the user button on the top-right corner.
-
Click (SIGN IN) button.
-
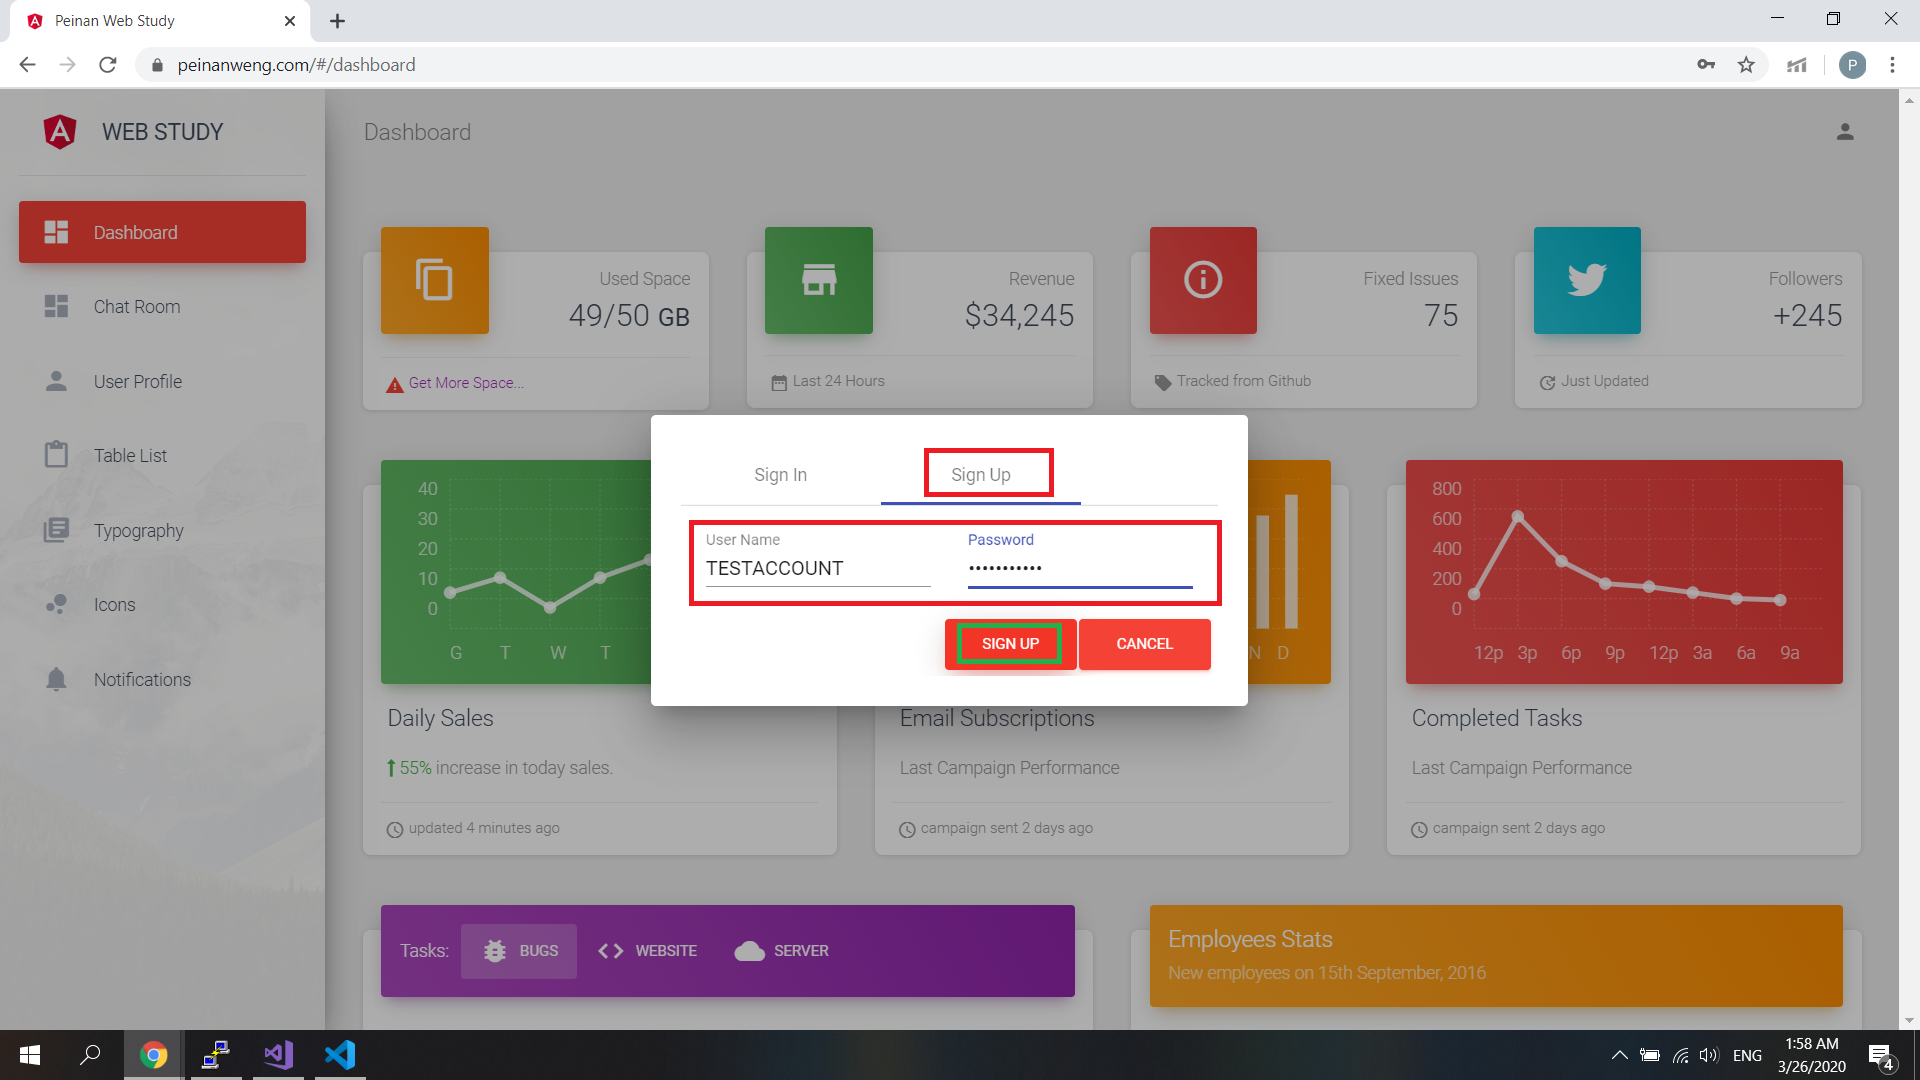
Select (SIGN UP) tab.
-
Type your user name and password.
-
Click the (SIGN UP) button below.
-
- Add new contact
-
Register another new account for communication.
-
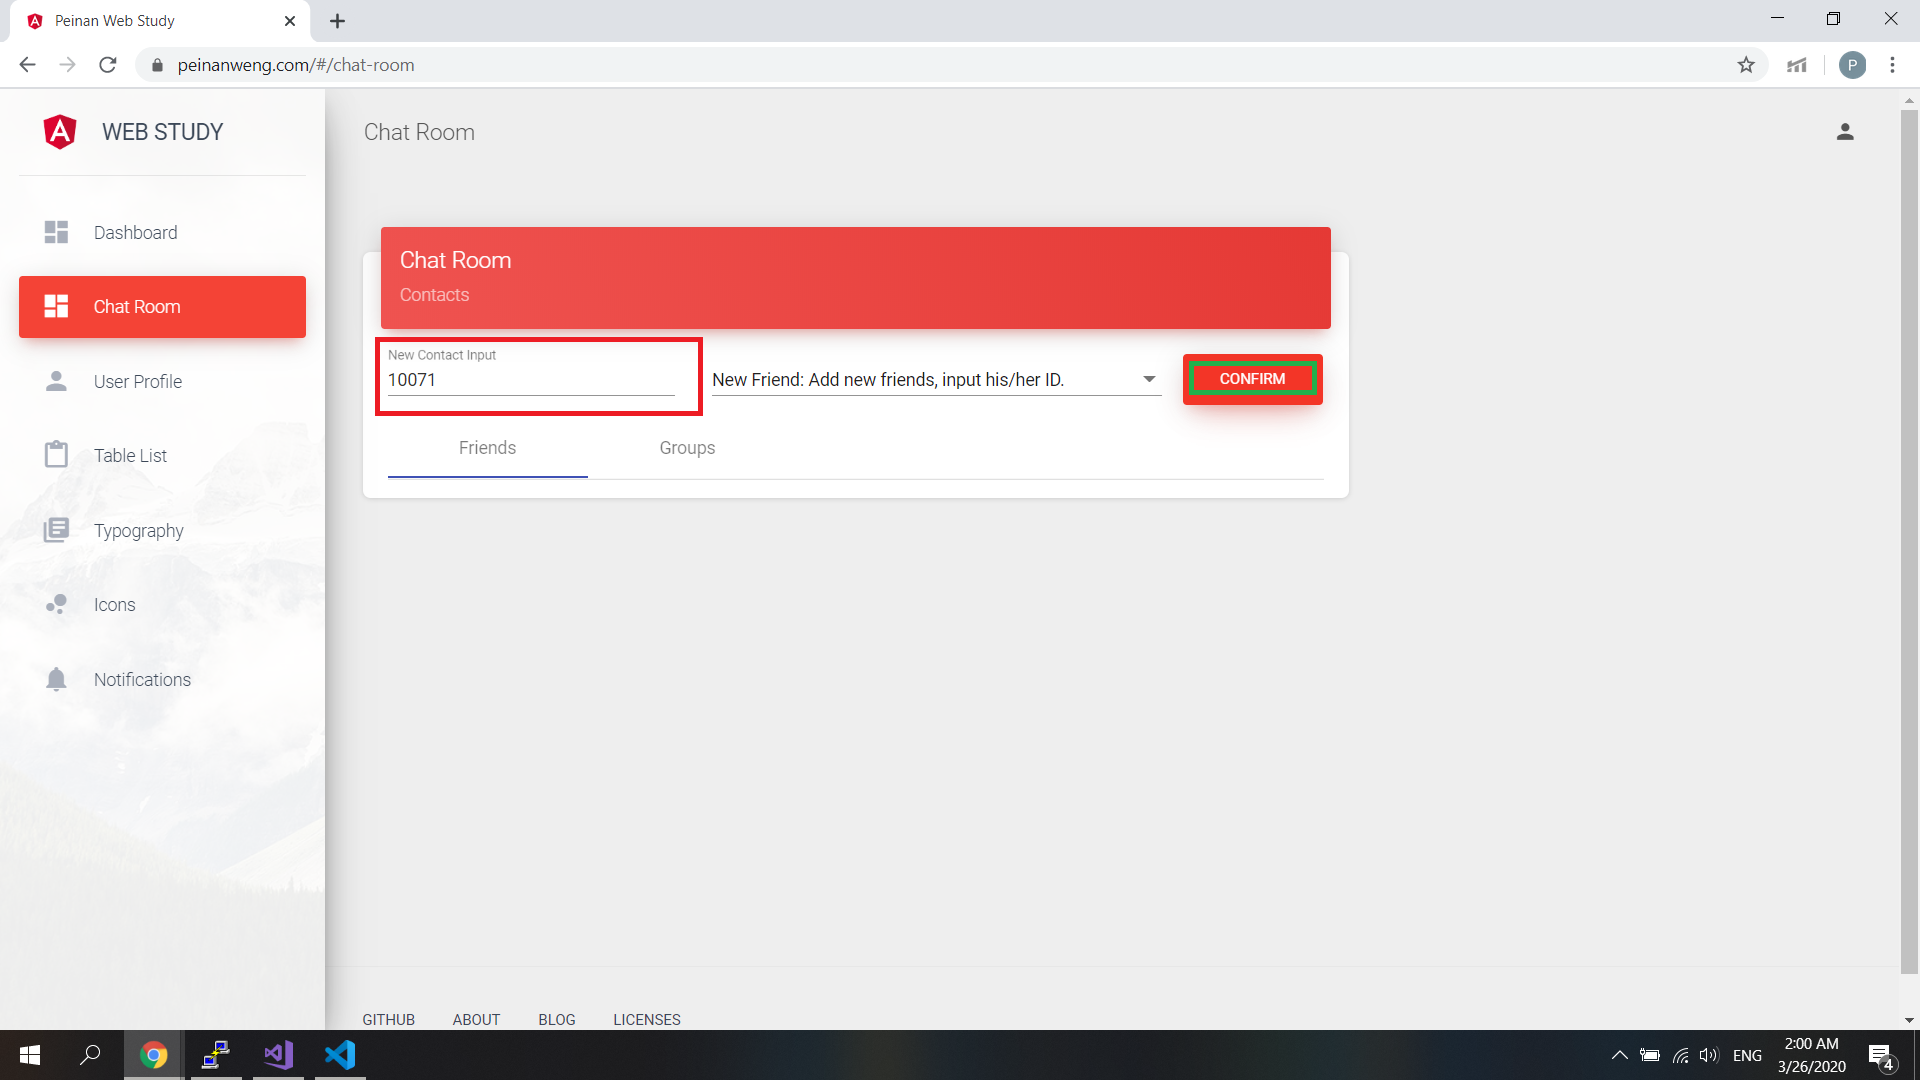
Type new contact ID in this input field, then click the (CONFIRM) button.
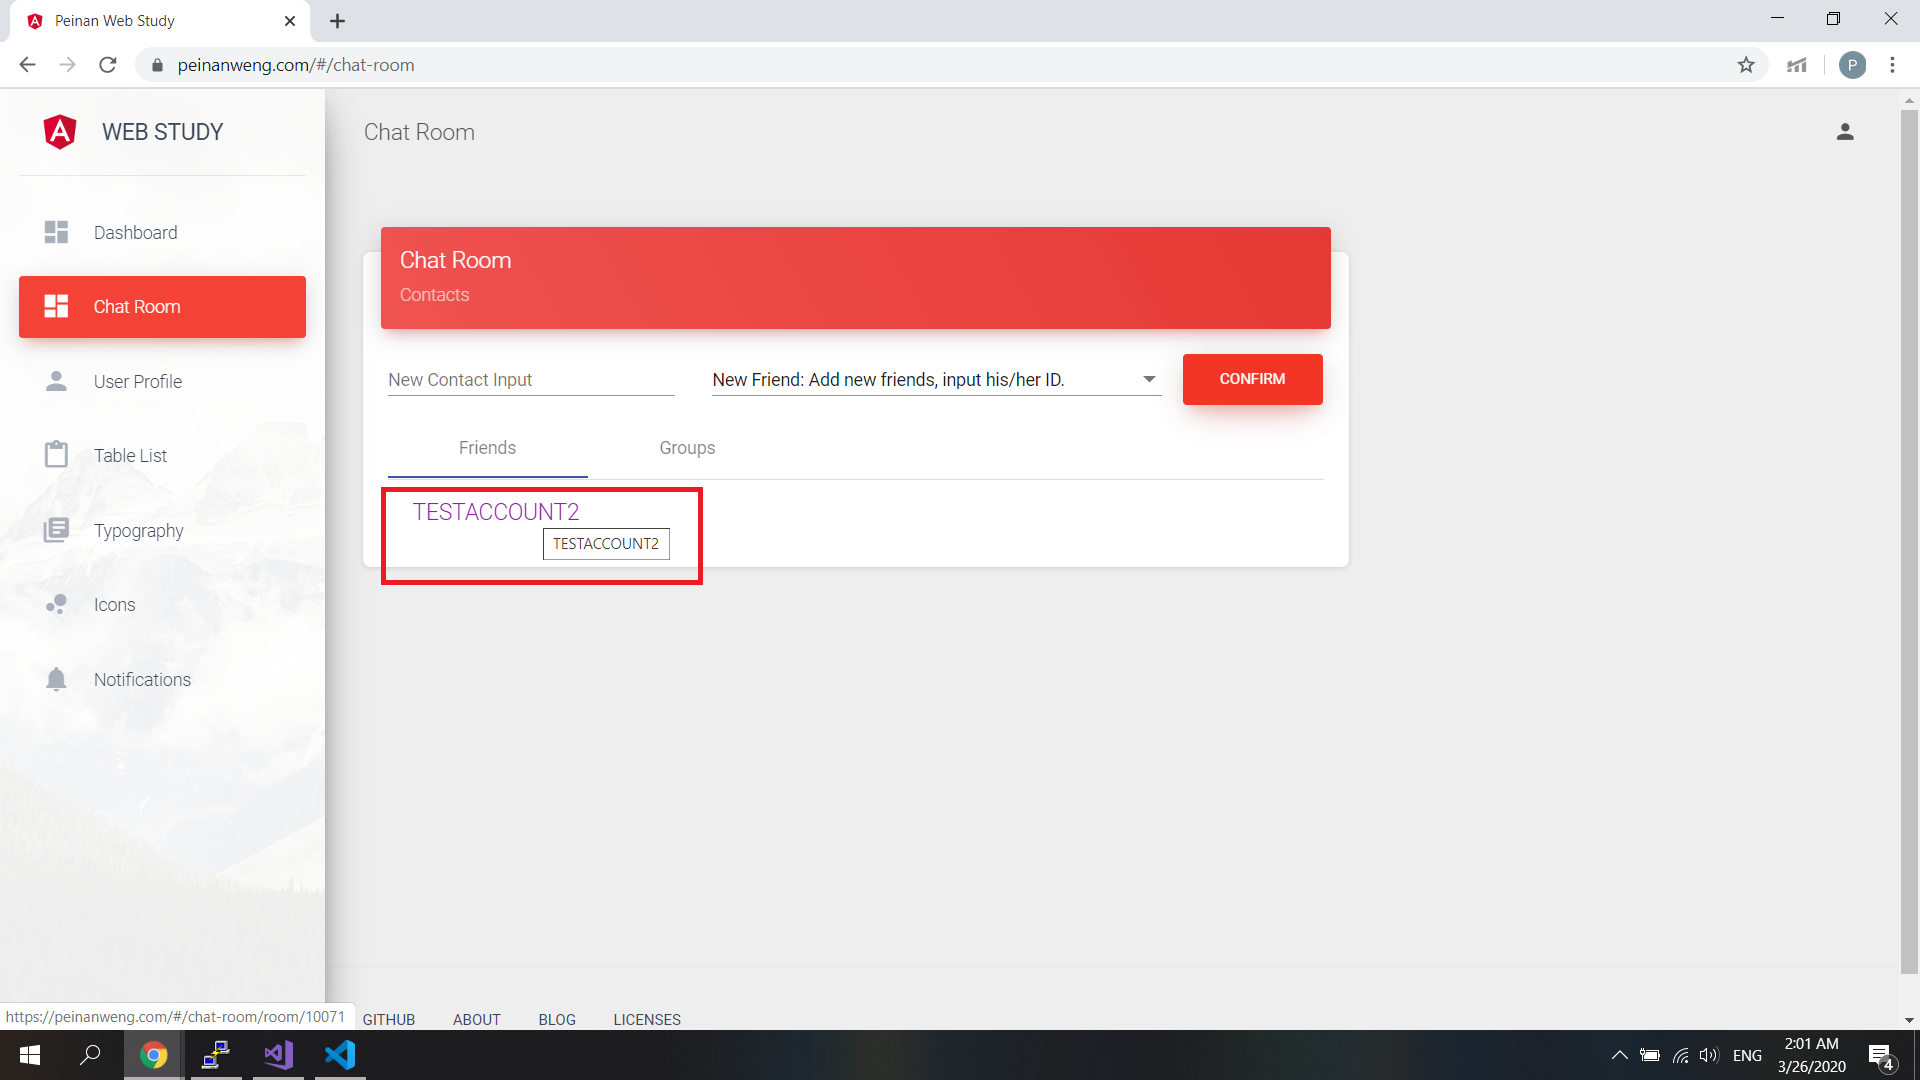
- You will see a new contact name below, click this name button to enter the chat room.
-
- Text messages
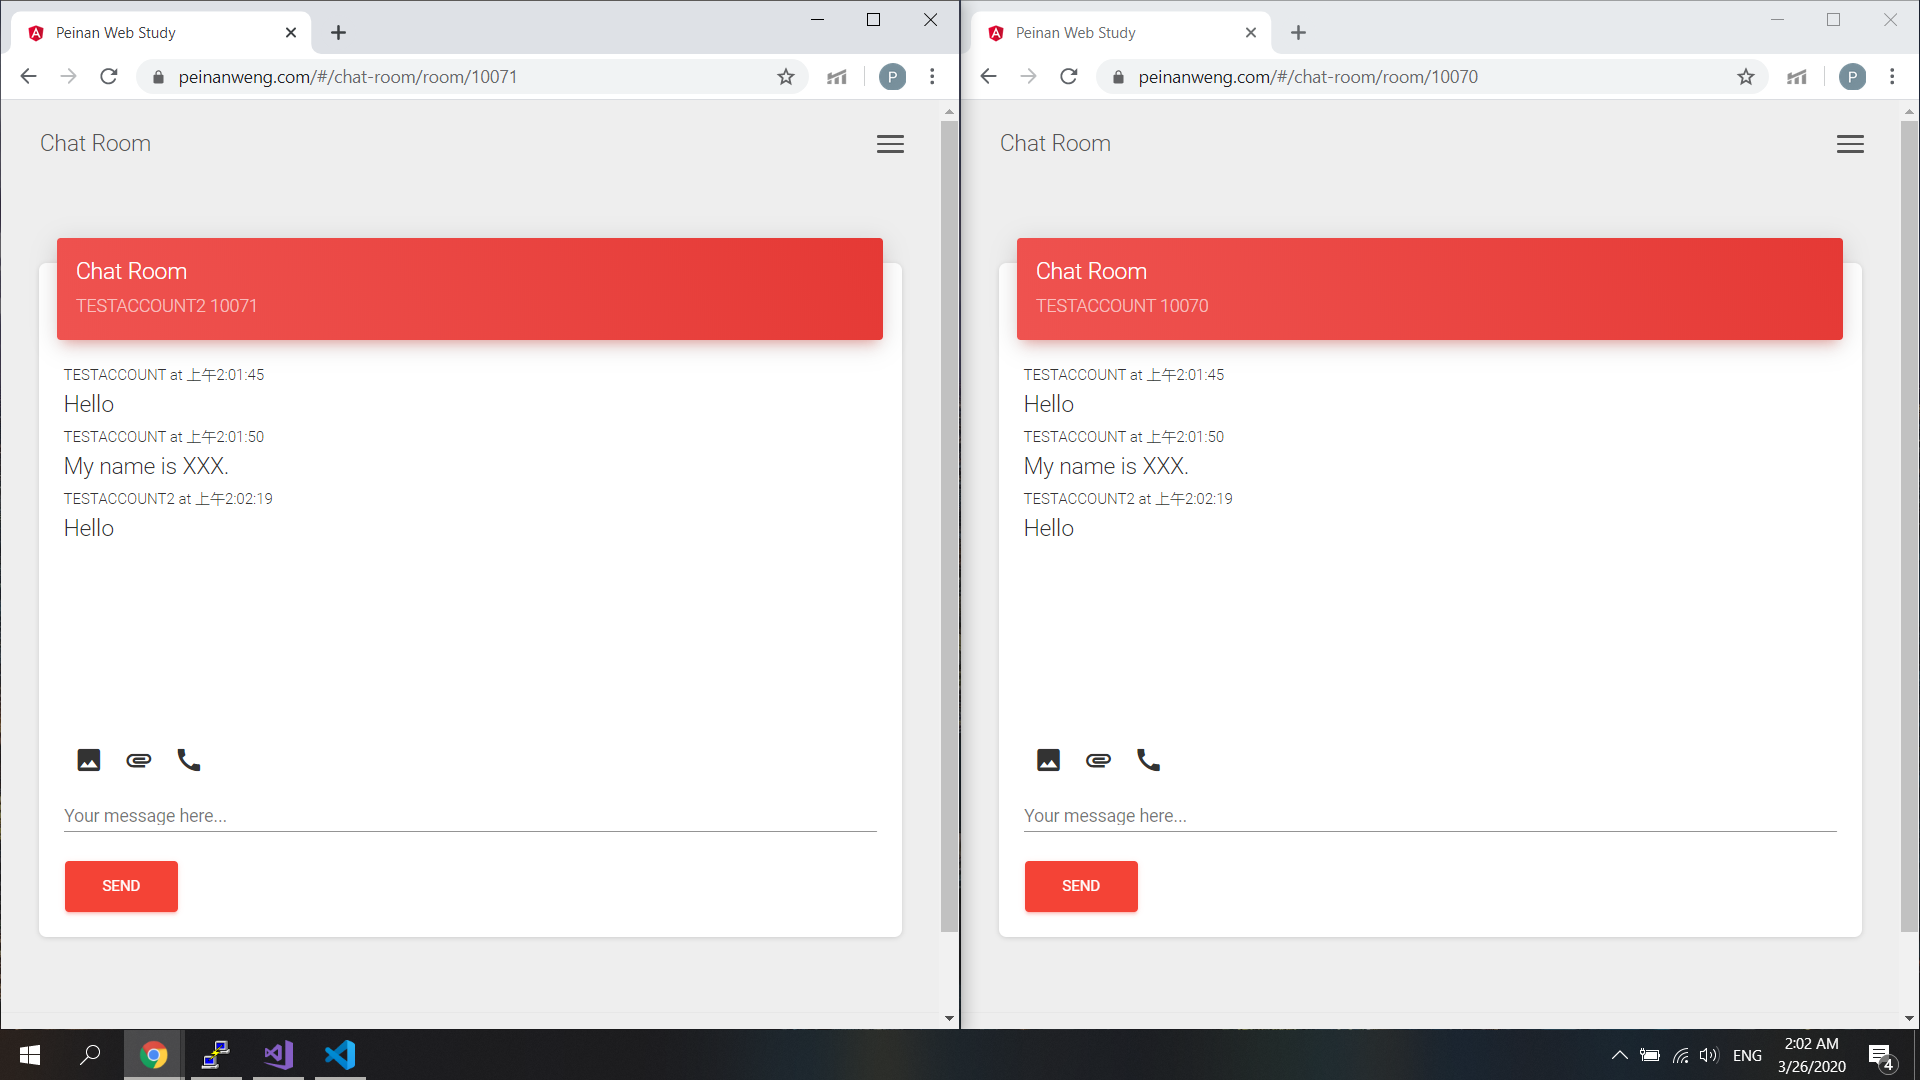
- Type some text messages in the input field, then click (SEND) button or click the ENTER key on your keyboard.
-
- Images and Files
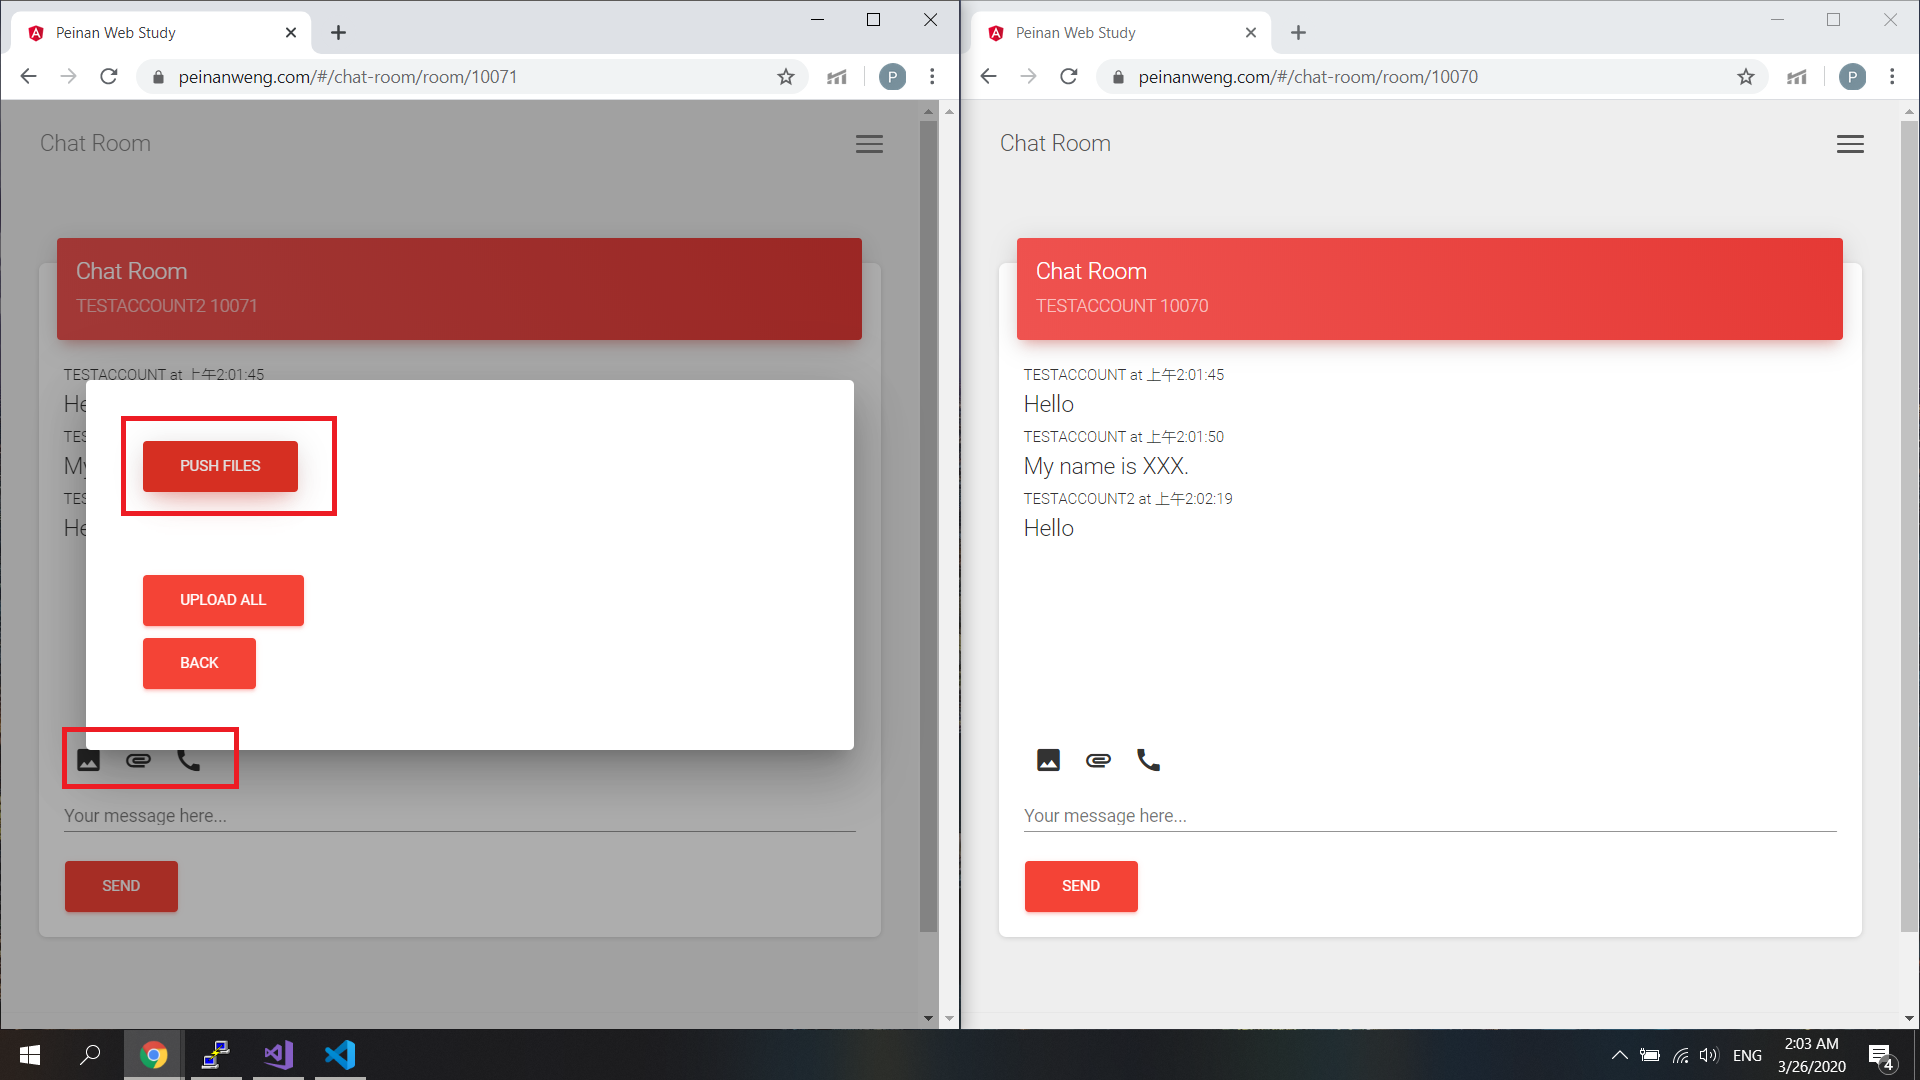
- The tool bar over the text input field contains 3 buttons for image, file and video call. Click the second button if we want to send some local files.
- After open this file upload window, click (PUSH FILES) button. Then you will be allowed to select some files on your device.
-
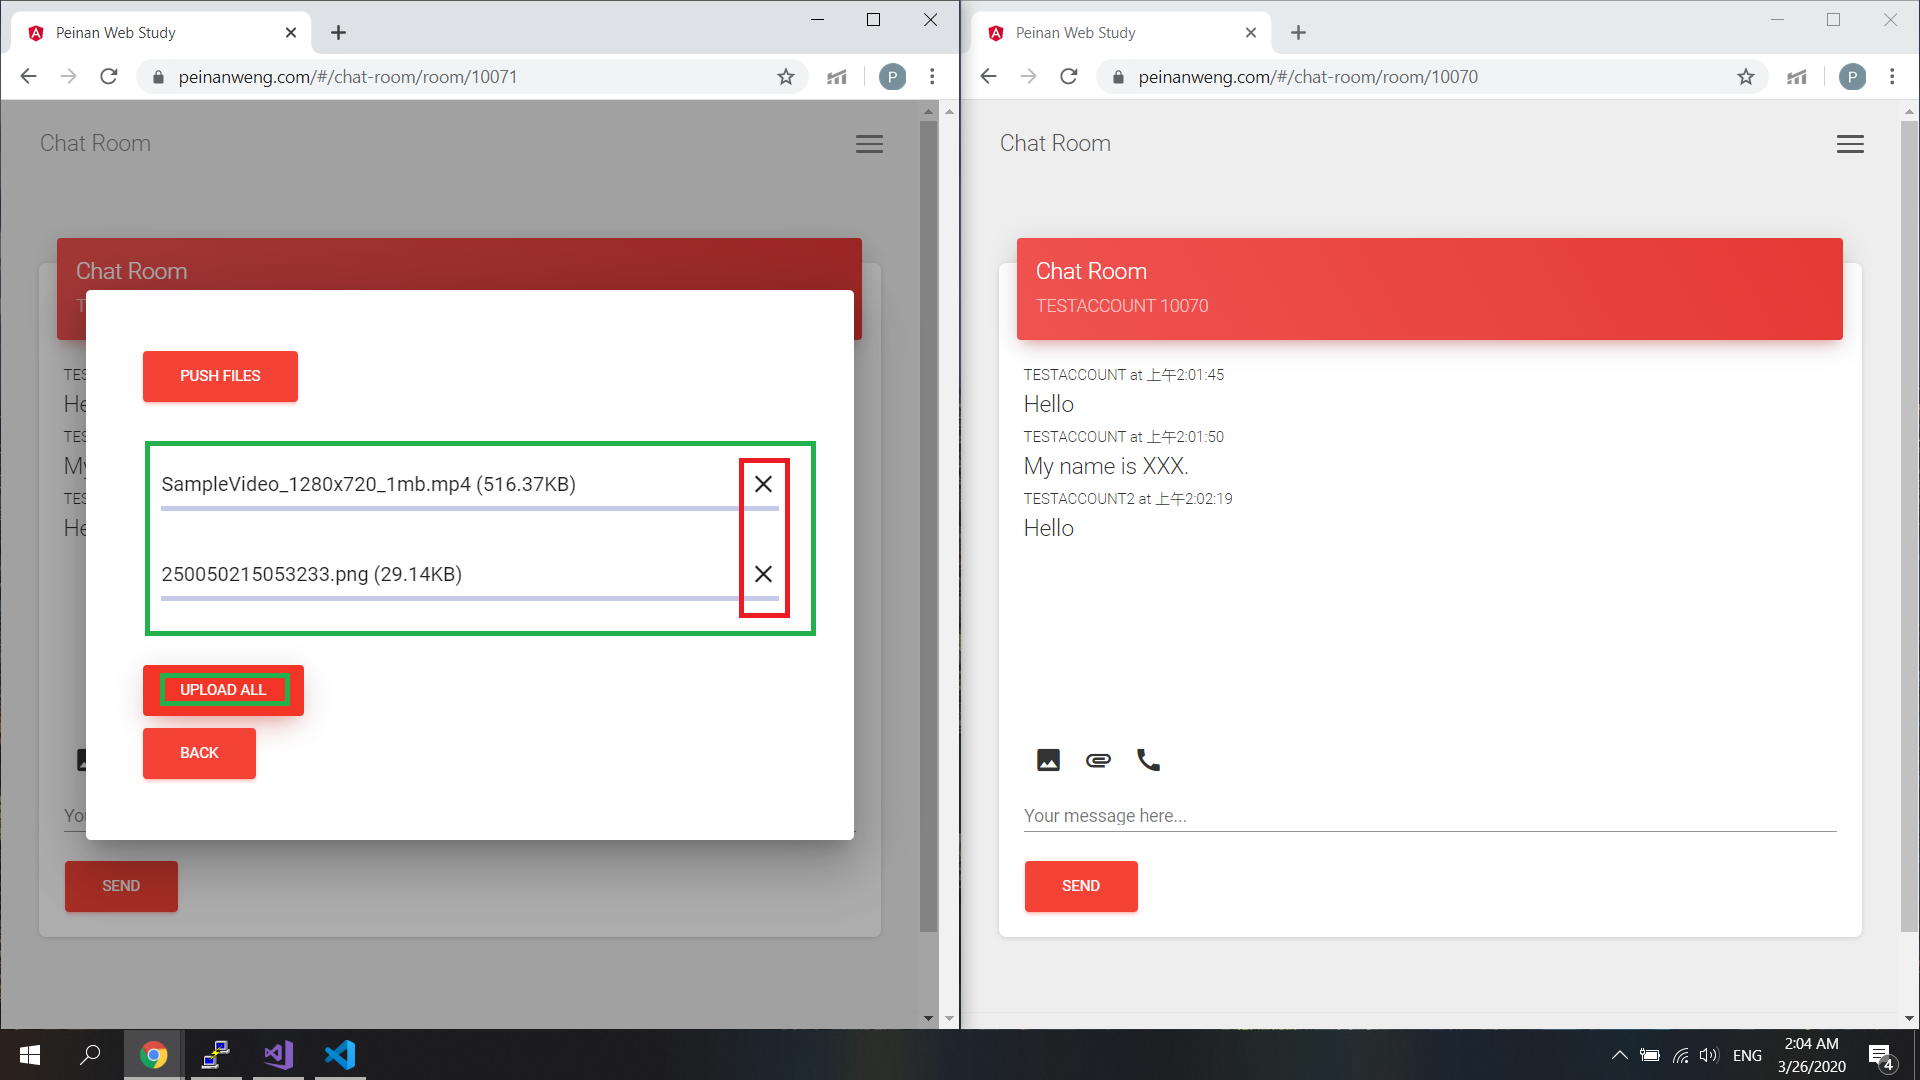
After we select the file, we could check again before we finally send it. Click the (X) button if we don’t want to send that file anymore.
-
Click (UPLOAD ALL) button to send all the files.
-
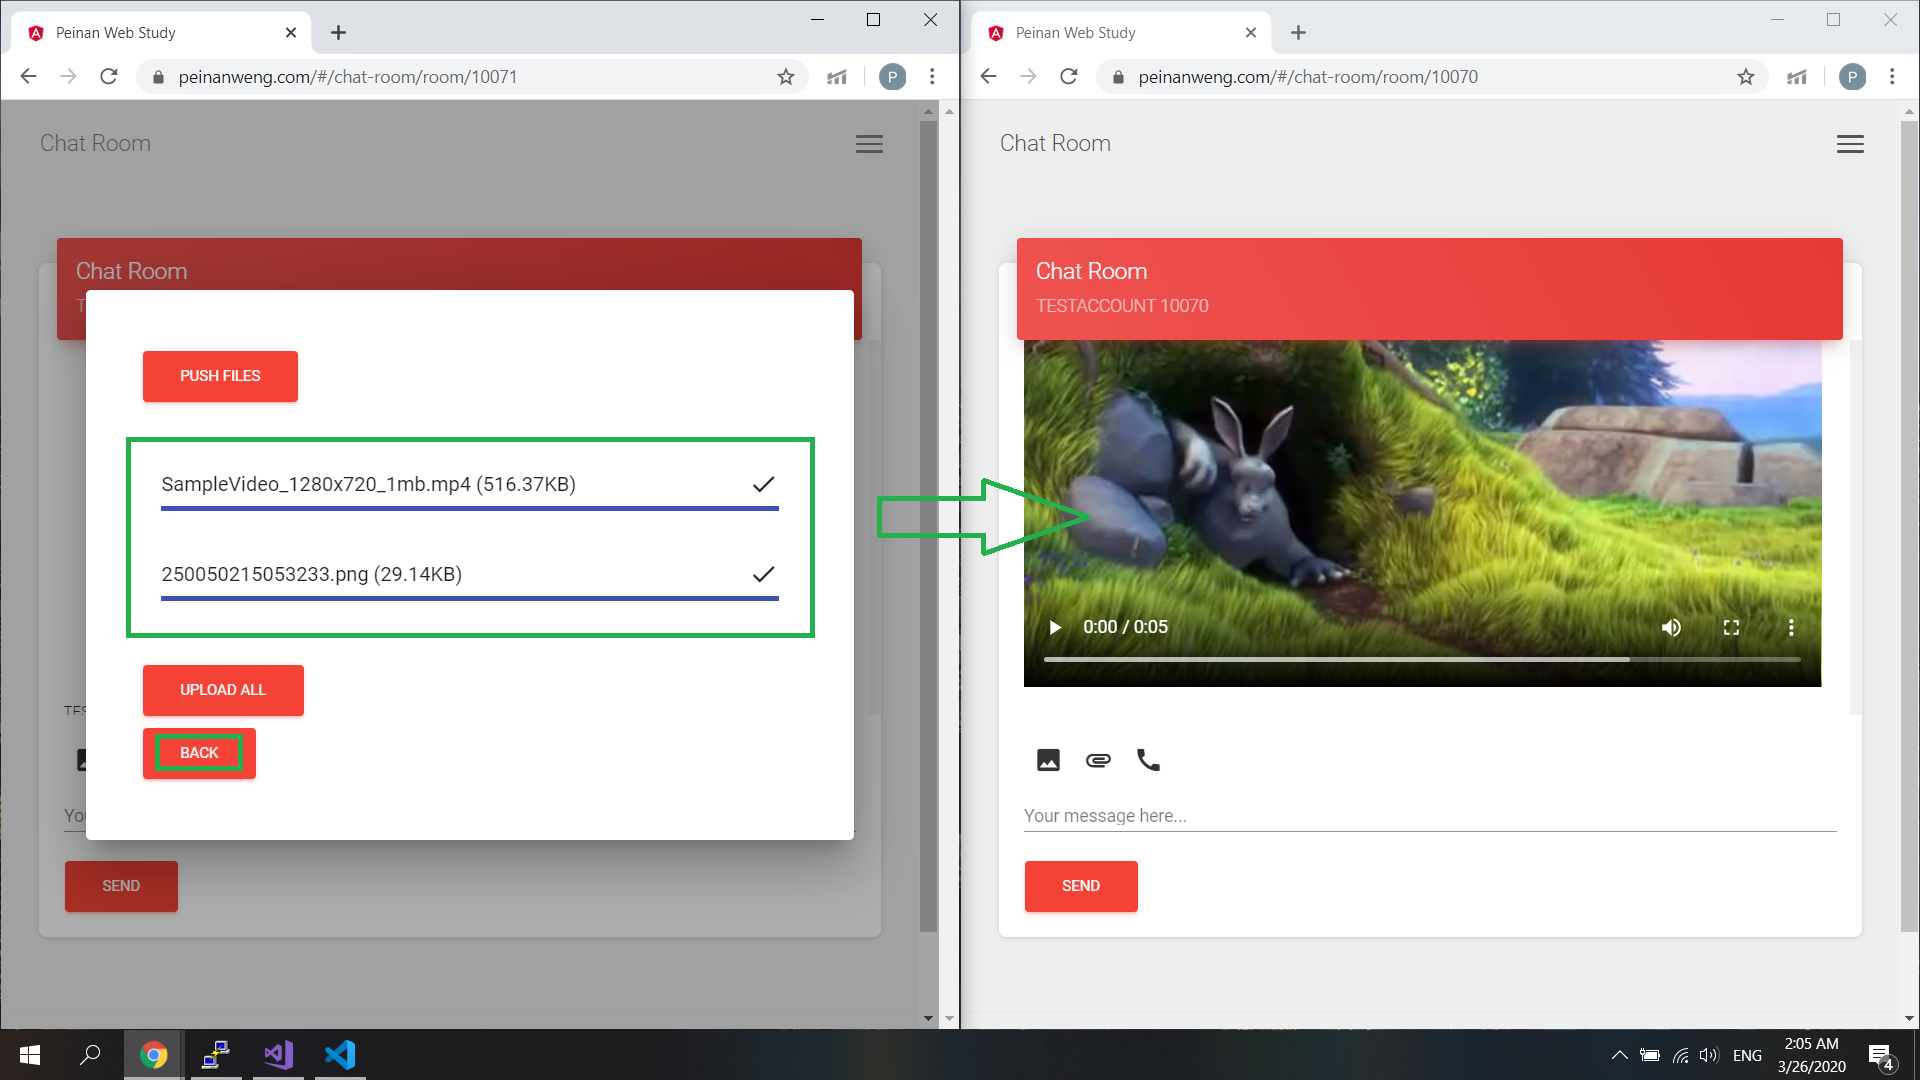
Then we could see the progress bar and those files will be sent out.
-
For image/audio/video files, we can preview those files in the chat window directly. For other files, the system will generate a download link.
- Images and Files
-
- Video Call
- Click the (CALL) button on the tool bar.
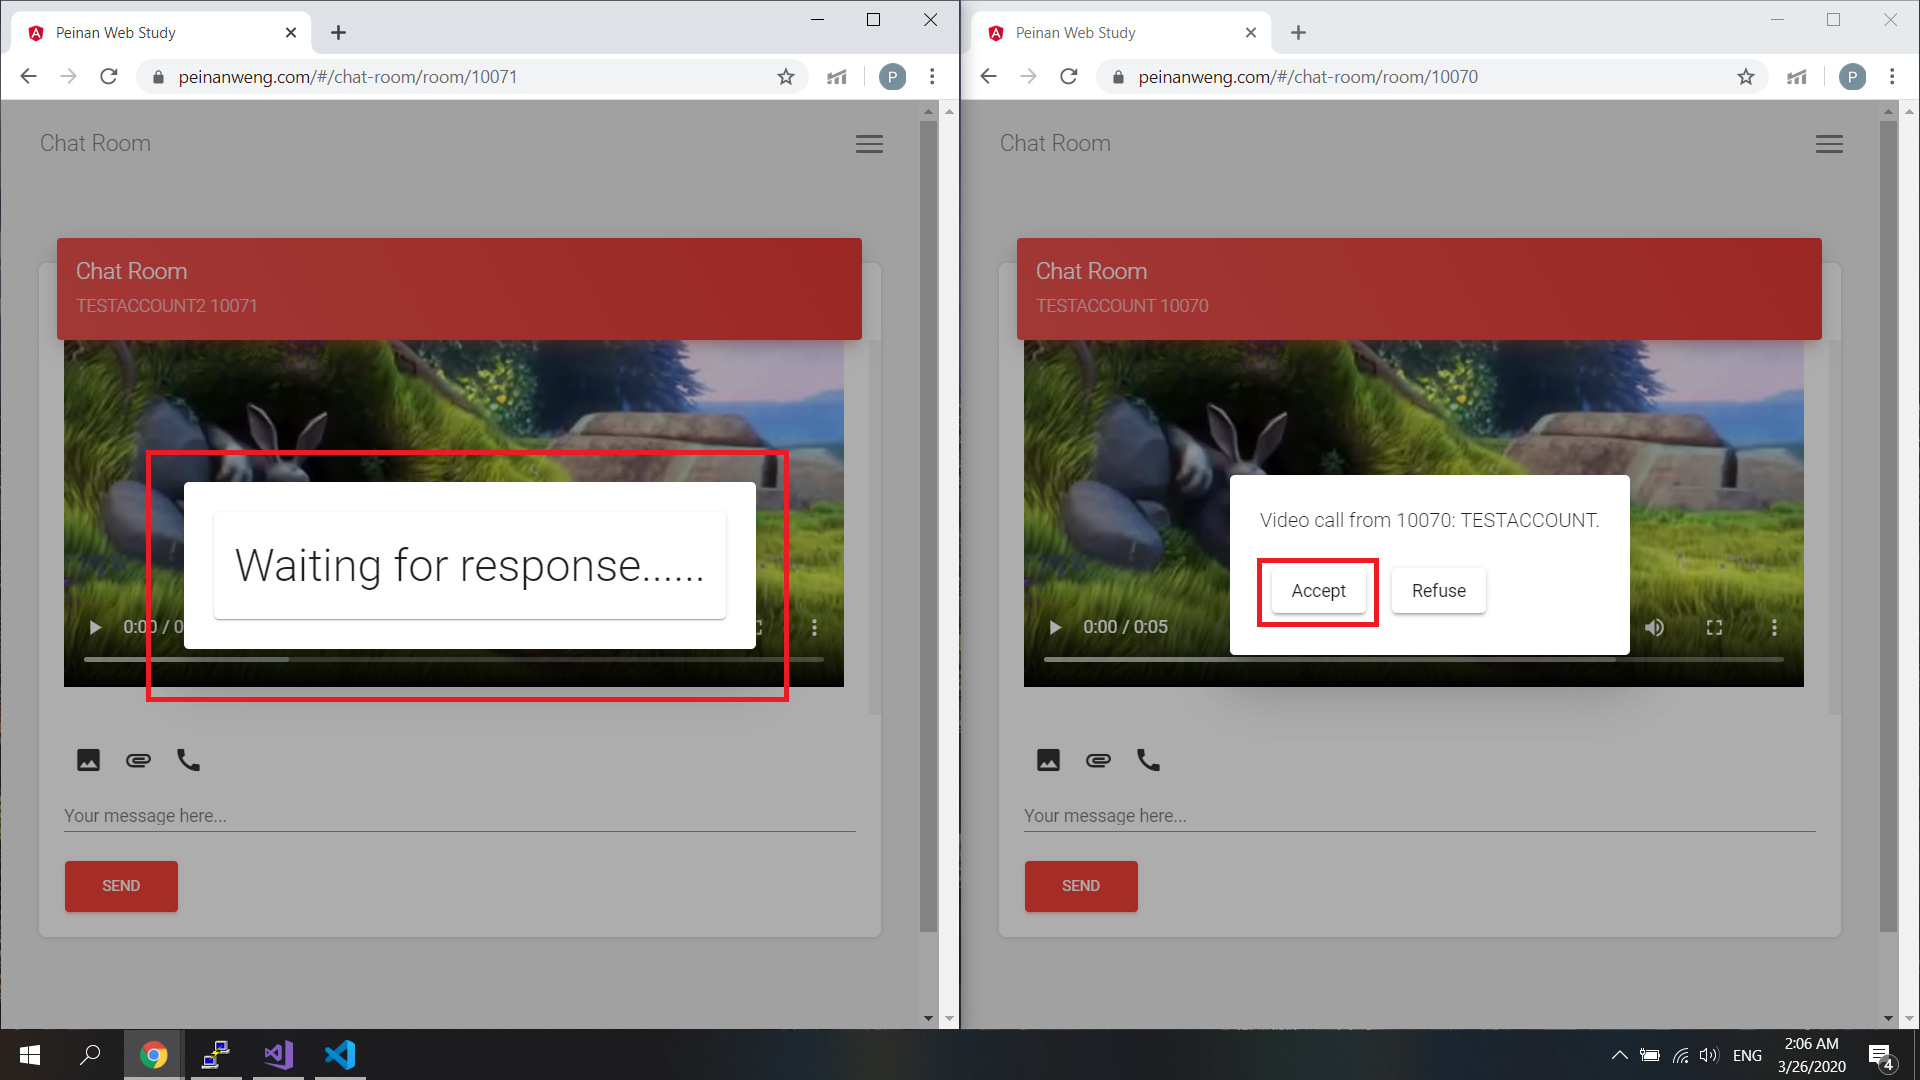
- On the caller side, a block window will be popped up. On the callee side, a selection box will be popped up, select (Accept) to establish a new WebRTC connection.
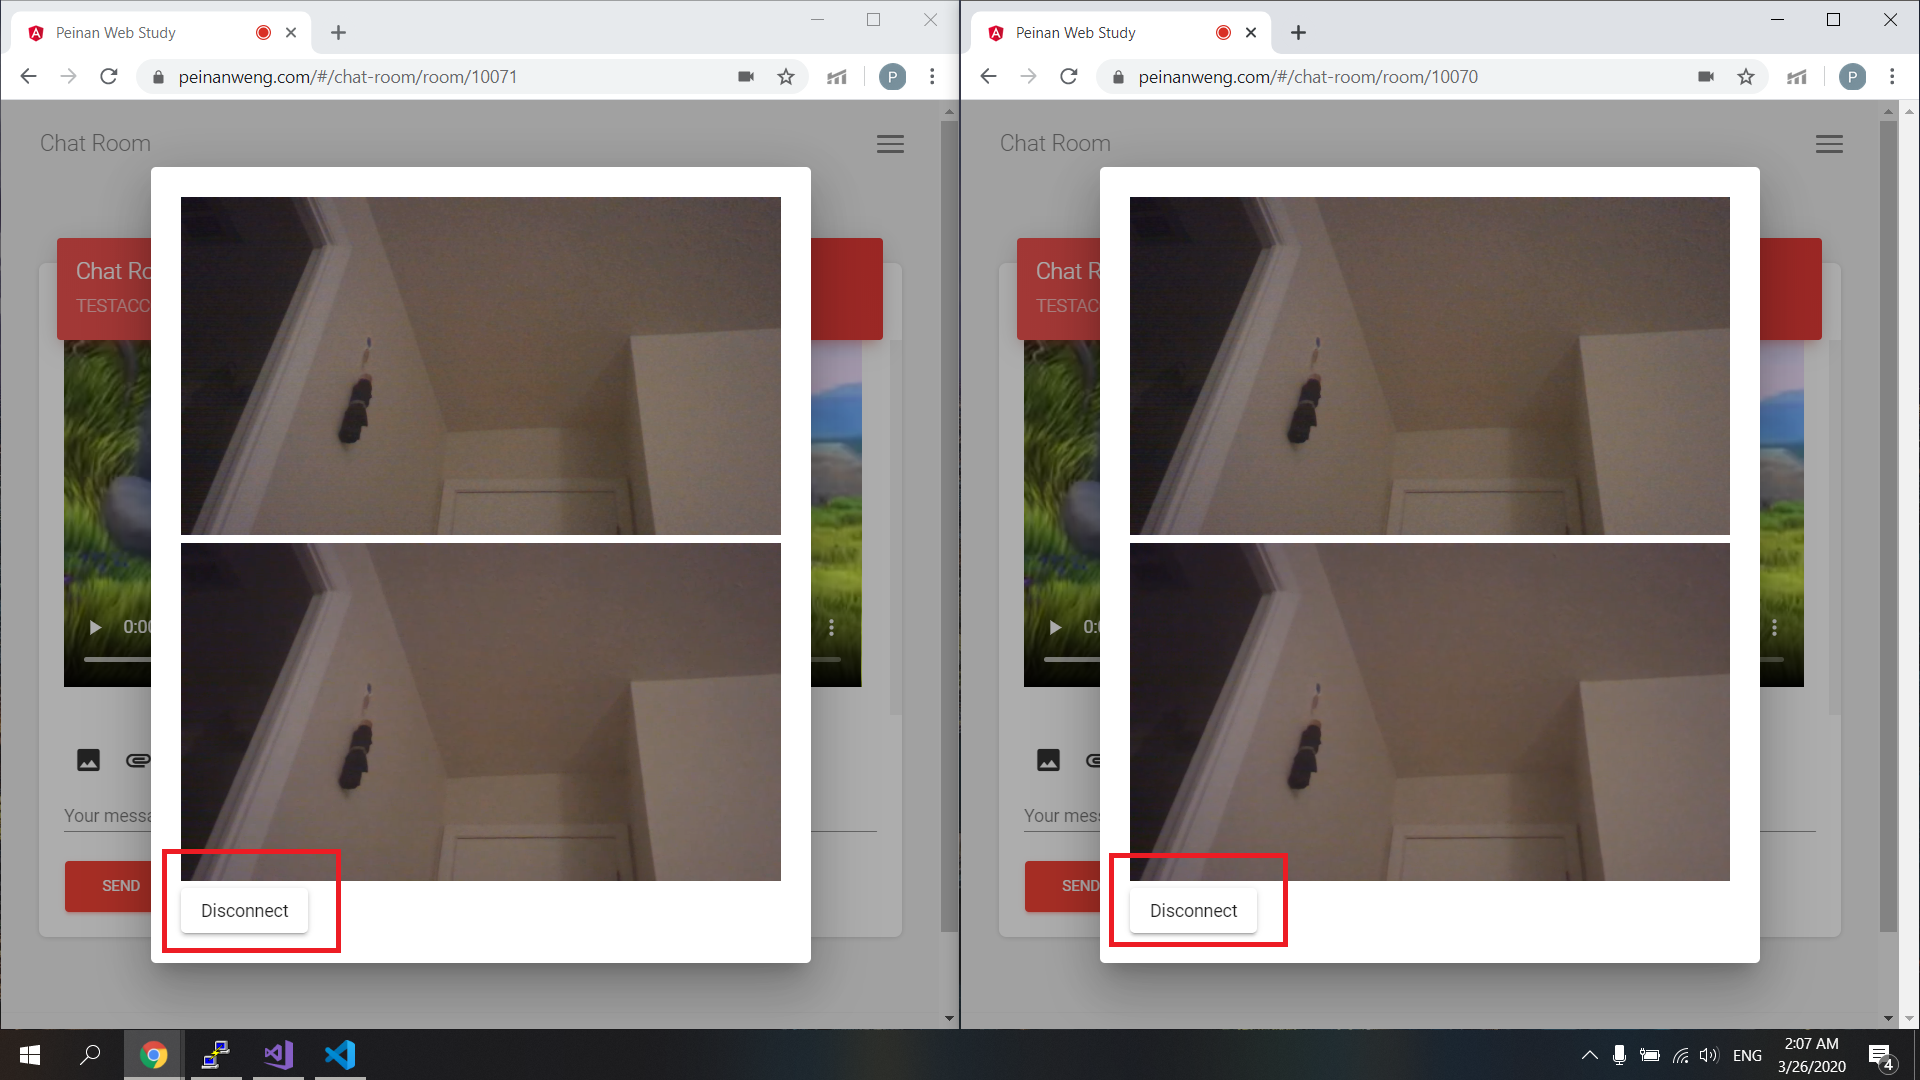
- Then we will be able to see each other and begin our video chat. Click the (Disconnect) button to leave video chat.
- Video Call
Module available now:
- Chat Room
Module available soon:
-
Online Market (E-commerce)
-
Video and Streaming Site
-
Chat Room new features: Support emoji, voice message, images and file uploading/downloading and personal profile.
By Peinan